How to Start an Ethereum Private Network Blockchain
This page contains description on how to start an own private network blockchain with Go Ethereum. One local machine node and one cloud based node are used to start and are connected on the private blockchain network. Similar additional nodes can be added to join.
An Ethereum network is a private network if the nodes are not connected to the main network nodes.
More info: go-ethereum/wiki/Private-network
Also an interesting read from 2015: Vitalik on public and private blockchains
But let’s get started!
First Node - Local machine
This is done on macOS Sierra 10.12.6, however it should work in a similar way on other OS or maybe using docker and linux.
First thing first: Install Go Ethereum, geth which is the CLI Ethereum client, details are here: go-ethereum/wiki/Building-Ethereum
For Mac, you can install using Homebrew, the brew installed version could be behind the actively developed Go Ethereum, but it should work or you can also use brew to install from develop branch. go-ethereum/wiki/Installation-Instructions-for-Mac
$ brew tap ethereum/ethereum
$ brew install ethereum
Check geth is installed and ready to go from the terminal:
$ geth version
Create a new directory somewhere on the local machine (e.g. Documents) for all the the private blockchain data:
$ cd ~/Documents
$ mkdir private-blockchain
$ cd private-blockchain
$ mkdir chain-data
Next you will need a configuration file called genesis block, which is the start of every blockchain. Here is an example of a genesis.json:
{
    "config": {
        "chainId"         : 555,
        "homesteadBlock"  : 0,
        "eip155Block"     : 0,
        "eip158Block"     : 0
    },
    "coinbase"    : "0x0000000000000000000000000000000000000001",
    "nonce"       : "0x0042",
    "mixhash"     : "0x0000000000000000000000000000000000000000000000000000000000000000",
    "parentHash"  : "0x0000000000000000000000000000000000000000000000000000000000000000",
    "difficulty"  : "0x2000000",
    "gasLimit"    : "0x999000000",
    "extraData"   : "",
    "alloc"       : {
    }
}
Some basic notes on the above genesis.json:
- “chainId” - must be different than 1 which is the main Ethereum net
- “homesteadBlock” - using the Ethereum Homestead release
- “eip155Block” - eip = Ethereum Improvement Proposal
- “coinbase” - collects mining rewards for this block, not required
- “nonce” - proof of work nonce
- “mixhash” - proof of work hash
- “parentHash” - pointer to the parent block, 0 for genesis
- “difficulty” - mining dificulty
- “gasLimit” - limit of gas cost per block, high for testing
- “extraData” - to eternity and beyond or bitcoin note
- “alloc” - could pre-fund wallet accounts, it does not create the accounts
Use a text editor to write the genesis.json file and then save it in the private-blockchain directory. The directory tree would look something like this:
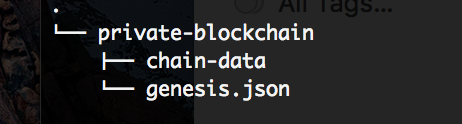
Now from inside the private-blockchain directory run geth to create a database that uses this genesis block:
$ geth --datadir ./chain-data init ./genesis.json
Start the node on the blockchain using the same chain-data directory:
$ geth --datadir ./chain-data
Things to note from the terminal output, that you will need later on:
-
IPC endpoint opened: /Users/…./private-blockchain/chain-data/geth.ipc
-
Enode: self=enode://a3d1….bf3@EXT:IP:ADD:RESS:30303 (note at the end your external IP address and port)
Local Home Network Port Forwarding: Depending on your local/home network configuration you may have to get into your router box advance settings and forward external IP address port 30303 to the machine your are using local IP address and same port. This is done to expose the local machine IP and port to the cloud IP and port for net communication.
Second Node - Cloud
This is using DigitalOcean, however other cloud services such as Amazon, etc.. would work the same.
Create an Ubuntu 16.04.3 x64 Droplet, here is the time to add the SSH key if you previously created one. DigitalOcean has tutorials how to create one. The SSH key is not needed but nice to have to easy connect to the cloud terminal.
Once you have the droplet created, you will need to copy the droplet’s IP address. On DigitalOcean it appears as below:
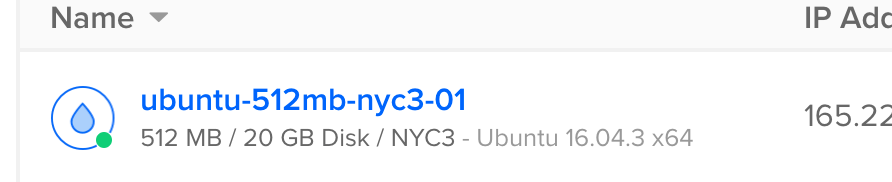
Log into the new droplet via terminal, or if you do log from the droplet’s page it is called the access console.
The following is done with a SSH key to easy communicate with the cloud droplet. This is just playing around so root user would be fine for now.
Next you need to copy the genesis.json file to the cloud droplet. The easier way to do that is using the sftp net protocol, run on the local machine terminal in the private-blockchain directory:
$ sftp root@DROP:IP:ADD:RESS
Then asumming you are in the private-blockchain directory run:
sftp> put ./genesis.json genesis.json
and you should see something like Uploading ./genesis.json to /root/genesis.json
Next you need to access the Droplet terminal and install geth:
ssh root@DROP:IP:ADD:RESS
Installing Ethereum Go on Linux Ubuntu from terminal: go-ethereum/wiki/Installation-Instructions-for-Ubuntu
$ add-apt-repository -y ppa:ethereum/ethereum
$ apt-get update
$ apt-get install ethereum
You can do the same thing as on the local machine and create a directory chain-data for the blockchain data:
$ mkdir chain-data
then run geth to create a database that uses the genesis block:
$ geth --datadir ./chain-data init ./genesis.json
Start the node on the blockchain using the same chain-data directory:
$ geth --datadir ./chain-data console
console is added to have cloud same console access (to the JS console) after the node is started, otherwise you will have to start another terminal connect to the droplet and then attach to the running geth.
In the geth JS console run admin.addPeer with the the saved enode info from the local machine:
> admin.addPeer("enode://a3d1....bf3@EXT:IP:ADD:RESS:30303")
and you should see a console answer: true !!
Listing peers should confirm the other peer node:
> admin.peers
Transfer Ether from local account to cloud account
Cloud Node in the geth JS console:
> eth.accounts
No accounts are present, to create an account:
> personal.newAccount("passphrase")
Local node attach a geth JS console from a terminal:
$ geth attach /Users/..../private-blockchain/chain-data/geth.ipc
Then in the JS console make a new account and unlock it for transfer:
> personal.newAccount("passphrase")
> personal.unlockAccount(address, "passphrase")
Start mining with one thread, this would produce ether to the account:
> miner.start(1)
Transfer ether bewteen accounts, must have the from account unlocked and miner mining for the transaction to go through:
> eth.sendTransaction({from: '0x126.....c3c', to: '0xd9d.....d19', value: web3.toWei(1, "ether")})
To check an account balance:
> eth.getBalance("0xd9d.....d19")
To stop mining:
> miner.stop()
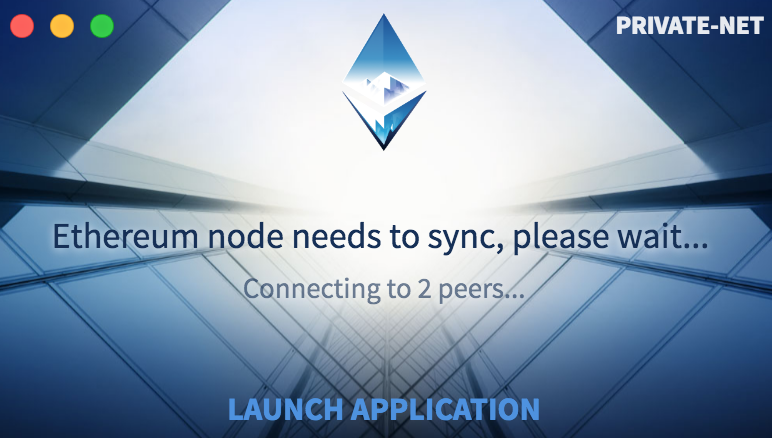
Connect Mist Ethereum Wallet to the Private Net:
Install Mist Ethereum Wallet: /ethereum/mist/releases
Connect Mist to your private net blockchain and use Mist functionality
On macOS start Mist like this from a terminal to connect to the private network, the geth.ipc path end point is the above noted when the local node was started:
$ /Applications/Mist.app/Contents/MacOS/Mist --rpc /Users/...../private-blockchain/chain-data/geth.ipc
Mist starts on Private-Net, and connects to the 2 peers: